

Managed Databases
Aral Cloud Managed Databases give you a ready-to-use database engine running on a dedicated, platform-managed virtual machine — provisioned, configured and exposed over a secure port-forward for you. You create one from the Databases section of the console, connect with a standard connection string, and manage credentials, firewall rules, backups, read replicas and resizing from a single page.
 Managed database0:47
Supported engines
Each engine ships with a default version and a default port. You can pick an alternative version from the offered list when you create the database.
| Engine | Versions | Default | Port | Read replicas |
|---|---|---|---|---|
| PostgreSQL | 16, 15, 14, 13 | 16 | 5432 | Yes — streaming standbys |
| MySQL | 8.0 | 8.0 | 3306 | No |
| MongoDB | 8.0 | 8.0 | 27017 | No |
| Redis (Valkey / KeyDB) | 8, 7 | 8 | 6379 | Yes |
| Qdrant | 1.12 | 1.12 | 6333 | No |
| NATS | 2.10 | 2.10 | 4222 | No |
Redis under the hood
A standalone Redis database runs Valkey (BSD-licensed). When you add a read replica, the primary and its replicas run KeyDB, which has built-in replication. Both speak the Redis protocol, so your redis-cli and client libraries work unchanged.
Creating a database
- Open Databases → Create.
- Pick an engine from the catalog.
- Give it a name and choose a version from the offered list.
- Choose a plan — the compute tier of the backing VM:
- Dev (1 vCPU)
- Small (2 vCPU)
- Medium (4 vCPU)
- Choose a region, or leave it on Auto to let the platform place it in a region with available capacity.
- Optionally attach it to a private network so it joins your tenant overlay.
- For replica-capable engines (PostgreSQL, Redis) you can add read replicas right away — see Read replicas.
The database is created asynchronously. Its status moves through provisioning → creating → configuring → active. The console polls and updates the status automatically; once it reaches active the endpoint (host:port) is shown on the overview.
Getting credentials and the connection URI
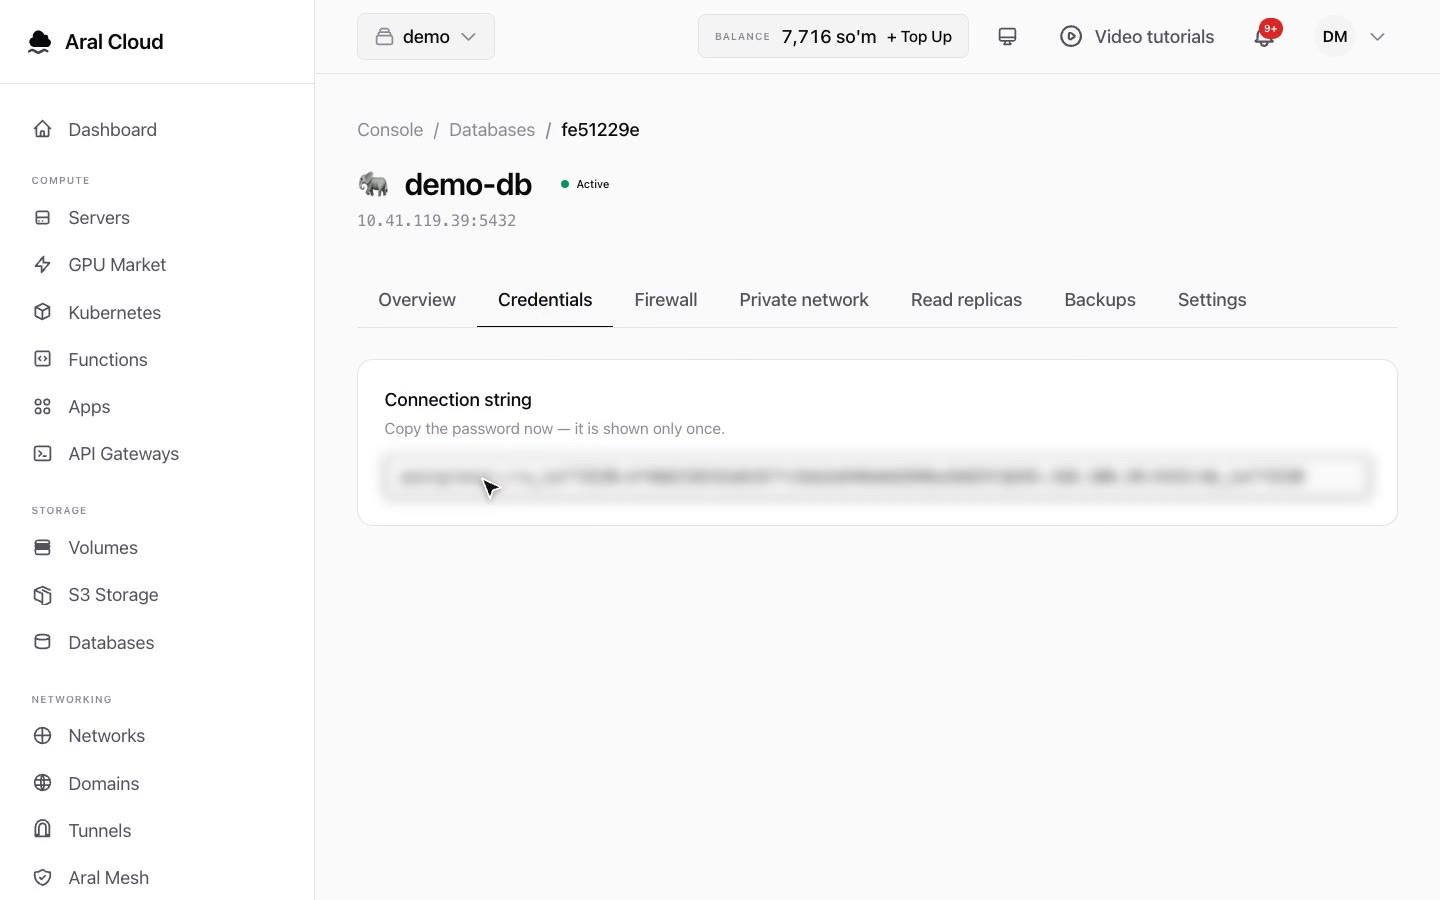
Open the database and go to the Credentials tab, then Reveal to fetch the connection details (GET /databases/{id}/credentials). You get the database name, user, password, host, port and a ready-to-use connection URI.
Credentials are owner-restricted
Connection credentials are scoped to the user who created the database. Other members of the same organization cannot read them (only the owner can). Older databases created without a recorded owner remain readable by any org member.
Connection URI formats by engine:
| Engine | URI format |
|---|---|
| PostgreSQL | postgresql://USER:PASSWORD@HOST:PORT/DBNAME |
| MySQL | mysql://USER:PASSWORD@HOST:PORT/DBNAME |
| MongoDB | mongodb://USER:PASSWORD@HOST:PORT/?authSource=admin |
| Redis | redis://:PASSWORD@HOST:PORT |
| NATS | nats://USER:PASSWORD@HOST:PORT |
| Qdrant | http://HOST:PORT with header api-key: PASSWORD |
Connection examples
PostgreSQL:
psql "postgresql://USER:PASSWORD@HOST:PORT/DBNAME"MySQL:
mysql -h HOST -P PORT -u USER -pPASSWORD DBNAMERedis:
redis-cli -u "redis://:PASSWORD@HOST:PORT"MongoDB:
mongosh "mongodb://USER:PASSWORD@HOST:PORT/?authSource=admin"Qdrant (HTTP API with API key):
curl -H "api-key: PASSWORD" "http://HOST:PORT/collections"Firewall — allowed IPs
A new database is unreachable until you allow your IP
Every database is created deny-all: its allow-list is empty, so it accepts connections from nowhere. Before you can connect, you must add your IP address or CIDR range in the Firewall tab. This is a required step.
Open the database and go to the Firewall tab (GET/PUT /databases/{id}/firewall):
- Click Allow my IP to add your current public IP as a
/32, or type any IPv4/IPv6 CIDR and click Add. - Click Save to apply. The allow-list is enforced on the backing node's port-forward.
- An empty list means deny-all — the database is reachable from nowhere.
- You can add up to 50 CIDR entries.
Avoid 0.0.0.0/0
Adding 0.0.0.0/0 opens the database to the entire internet. The console flags this with a red warning. Only ever allow the specific IPs or ranges that need access (your office, your servers, your home IP).
Backups
Backups are available for PostgreSQL, MySQL, MongoDB and Redis (the engine must be active).
- Trigger a backup — in the Backups tab click Take backup (
POST /databases/{id}/backup). The backup runs asynchronously; its status updates from pending to complete and the resulting size is shown. - List backups — the Backups tab lists every backup with its status, size and creation date (
GET /databases/{id}/backups).
Read replicas
Read replicas are available for PostgreSQL (physical streaming standbys) and Redis (KeyDB replication). You can attach up to 5 replicas when creating the database, or add them later.
- Create a replica — in the Replicas tab click Add replica (
POST /databases/{id}/replicas). You can choose the replica's region (it inherits the primary's region by default).- PostgreSQL replicas are byte-identical streaming standbys and always inherit the primary's credentials.
- Redis replicas can either share the primary's credentials (
master) or get their own username/password (new).
- Promote a replica — turn a replica into a standalone primary, stopping replication (
POST /databases/{id}/promote). Use this for failover or to split a replica off into its own database. Only an active replica can be promoted.
Replicas appear nested under their primary in the database list.
Resizing
Grow the backing VM to a larger plan from the Settings tab (POST /databases/{id}/resize).
Resize is increase-only
You can only move to a plan that meets or exceeds the current one on every dimension (vCPU, RAM and disk). The plan selector only offers tiers equal to or larger than the current one.
Deleting
Deleting a primary database from the Settings tab also tears down all of its read replicas in one step, so standbys are never left orphaned.